Connector Google Analytics
Configuration: Authentication data for Digdash
(service account + P12 file + Google Analytics account’s ID)
- Context
- Prerequisites
- Creating a new project
- Activating Google Analytics API
- Creating a service account and a P12 file
- Connecting service account and Google Analytics account
- Getting Google Analytics account’s ID
- Connecting to Google Analytics via Digdash Enterprise Studio
Context
This document explains how to get authentication information that Digdash needs to connect to your Google Analytics account.
We need the following information:
- Service account
- P12 file
- Google account’s ID
Prerequisites
- Being a G Suite subscriber or Cloud Identity subscriber
- Having an activated Organization resource on your domain
Creating a new project
Go to your Google Cloud console at:
https://console.cloud.google.com/projectselector/home/dashboard?supportedpurview=project

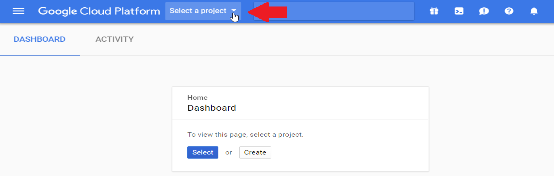
You can either select an existing project or create a new project.
We are going to focus on the creation.
Then click on Create.
The next screen allows you to define the project. Give it a name and choose its associated Organization.Then click on Create.
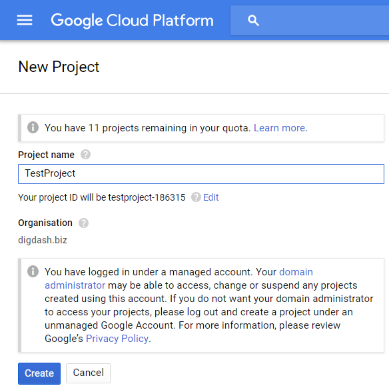
Please wait for a few seconds, the creation takes a few seconds.
|

Activating Google Analytics API
Go to your Google Cloud console at:
https://console.cloud.google.com/projectselector/home/dashboard?supportedpurview=project
Select the new project we just created.

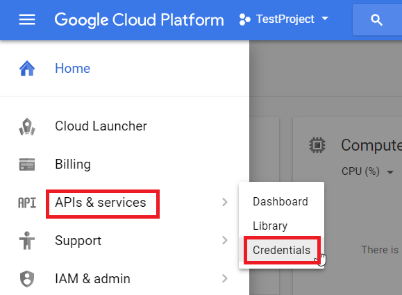
In the left side bar, go to API & services > Library

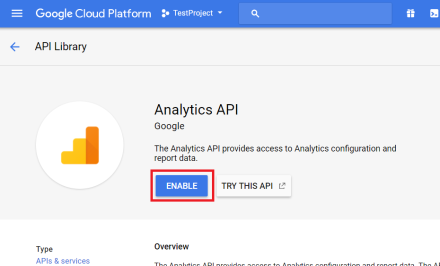
Get down on the page to find Other > Analytics API. Click on it.
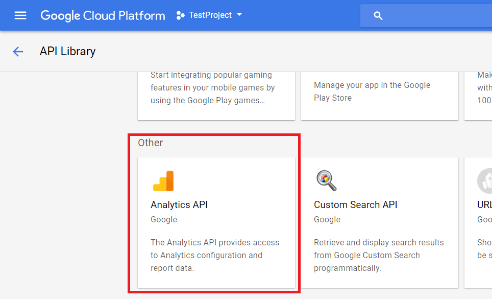
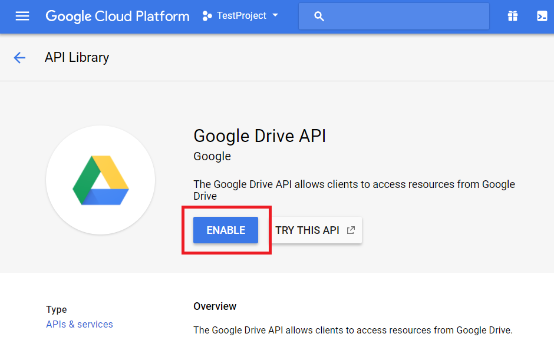
In the next screen, click on Enable.
Creating a service account and a P12 file
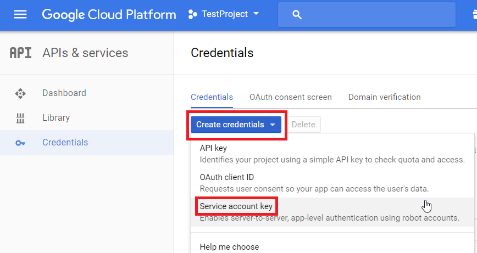
In the left side bar, go to API & services > Credentials
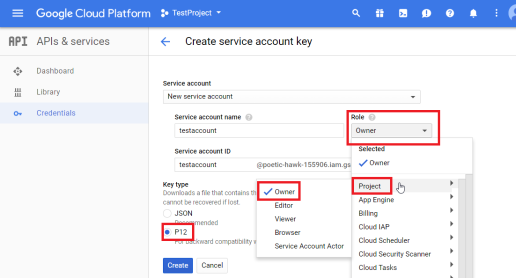
In the next screen, click on Create credentials > Service account key
In the next screen, select New service account in the dropdown list Service account and enter a name in Service account name. This generates a Service account ID in an email address form (ending with gserviceaccount.com).
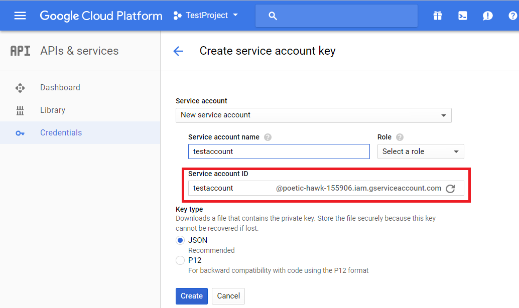
In the Role list, select Project > Owner
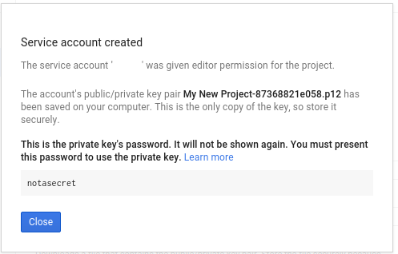
In the options Key type, select P12 then click on Create.
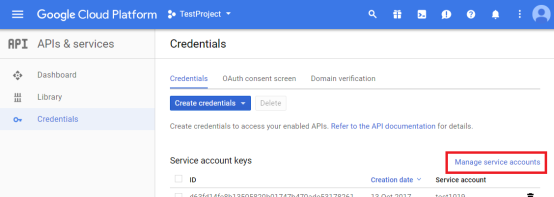
The P12 file will be downloaded automatically on your disk, please save it preciously. Click on Close.
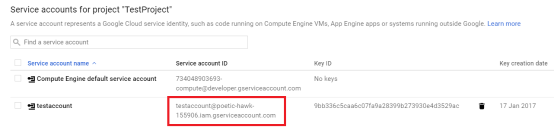
In the next page, click on Manage service accounts (on the right).
Then, get the Service account ID (in an email address form).
Connecting service account and Google Analytics account
Now, we are going to connect the service account we created to your Google Analytics account.
Go to your Google Analytics account at:
https://analytics.google.com/analytics/web/
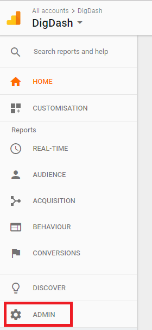
In the left side bar, click on Admin
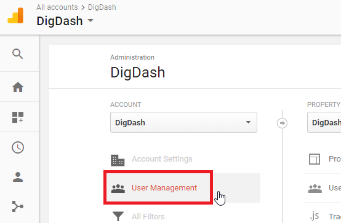
Then click on User Management
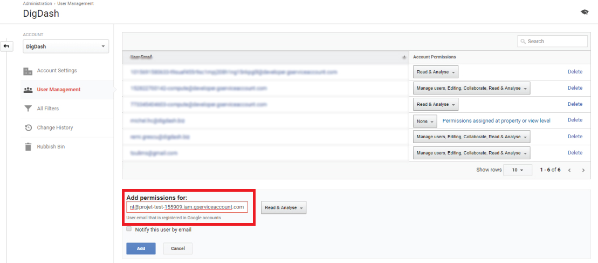
Add the service account ID (in an email address form) and let Read & Analyse in the list next to the field.
Please wait for a few seconds so the changes are taken in count (about 3 minutes).
Getting Google Analytics account’s ID
This is the ID you will need to enter in Digdash Enterprise Studio.
Go to your Google Analytics account at:
https://analytics.google.com/analytics/web/
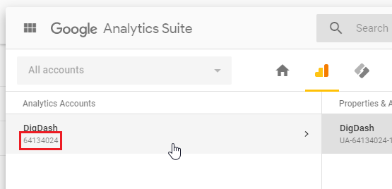
You can display all your Google Analytics accounts clicking on the button All accounts at the top right corner of the page.
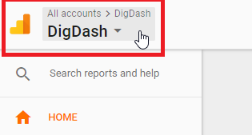
This lists all your Google Analytics accounts with their names, their IDs (first column). Please take note of the Google Analytics account’s ID you want to work with (the one that is linked to our service account).
Connecting to Google Analytics via Digdash Enterprise Studio
When in Digdash Enterprise Studio, choose a new Google Analytics datasource.
In the interface, enter the corresponding information:
- Service account : it is the service account name we got in an email address form (in the example: testaccount@projet-test-155909.iam.gserviceaccount.com)
- P12 file: It is the P12 downloaded when creating the service account)
- Account ID: this is the identifier retrieved from Google Analytics, in the example 64134024)
Load the objects.
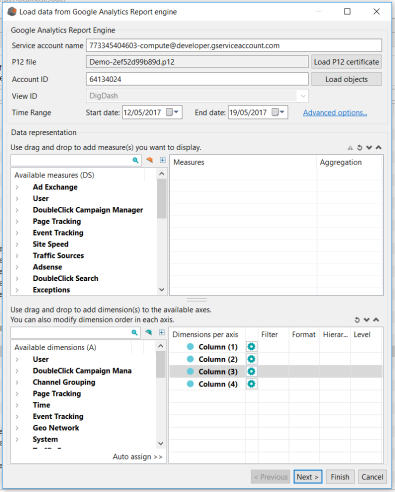
(the screenshot is only indicative and does not necessarily include the data from the previous examples)